Showing posts with label chemistry. Show all posts

Making your own PCB cleaner mixture

Commercial PCB washing solutions are relatively expensive, much cheaper and still powerful one can be prepared at home. It's based on trisodium phosphate, highly alkaline substance able to reduce oxides and react with grass forming soaps. Soaps in chemical meaning, not something we buy at store.

A sample PCB smashed into two pieces - on the left original state, on the right washed up.

DIY water based PCB solvent: before and after

Ingredients

The procedure is simple - a PCB is just placed into the solution and shaken from time to time to speed up the cleaning. Heating is not needed.

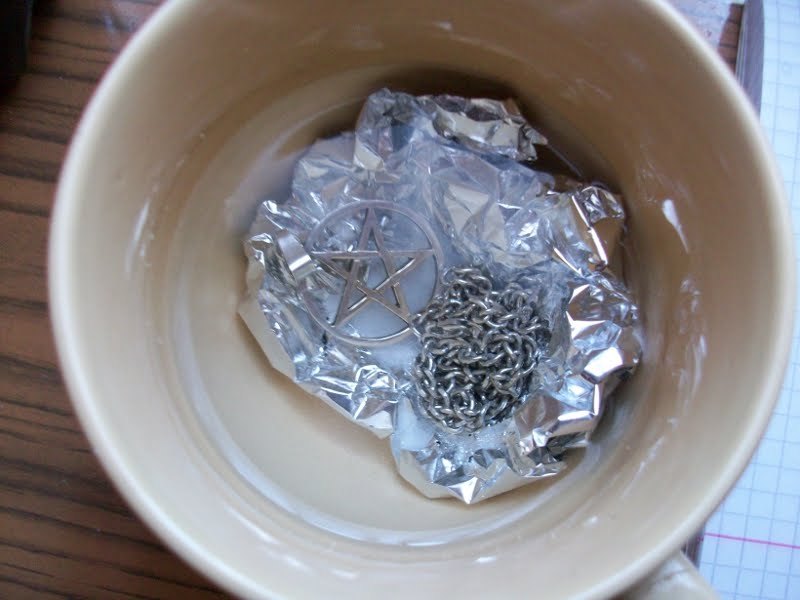
I'm using a cheap ultrasonic washing machine - I still don't know if it's working or if it's just a placebo and a bit of a noise, but it seems that at least it mix the water. I've placed the mixture into a glass and then placed it into the water in the washing machine. This is less efficient, but device is easier to clean after use.

DIY water based PCB solvent: ingredients

Note: trisodium phosphate is highly alkaline - it's visible on below below on below universal indicator. Use protective glasses and gloves.

In case of skin contact, wash the solution wash it with a lot of water. In case of a skin contact with the powdered substance whip it by using a rug and then wash it.

DIY water based PCB solvent: universal indicator

Trisodium phosphate was widely used till 70's, it's an inexpensive and effective cleaning agent, but is not environmental friendly.

Home-made mixture for chemical PCB tinning (alcaline bath)

Today I will present a method for PCB tinning that uses alkaline bath. What does alkaline bath mean? It says that the solution that we're using for tinning has this pH, in opposition acid bathes also exists - one of the example I presented in my previous post about PCB tinning at home.

This method is less expensive that the acid one, the results of both are comparable, but because of how a relatively dangerous alkaline bath is, I don't plan to use it. If you're searching a method to tin your PCBs, I would strongly suggest either using Lichtenberg's alloy (described here) or chemically tin them by using acid bath.

Ingredients:

Instead of pure metallic tin, a solder can be used, to increase its reactive surface, it can be melted on a small scrap of a laminate.

Note: NaOH is highly aggressive substance, it can easily permanently damage eyes or skin. Dissolution of an alcaline is strongly exothermic which means that water heats up, it can even start boiling and splashing dissolved NaOH!

Note: protective glasses and appropriate gloves should be used.

Note: don't use any containers, spoons or other small tools that you are also using for cooking, have a separate set for tinning.

PCB and tin (or mentioned above laminate) is placed in a high beaker. 100ml of water is added, then extremely slowly 1/2 teaspoon of NaOH and SnCl2 mixture is added. Mixture is heated (not boiled!) in heated bath similar to presented in this post. Tinning takes 10-20 minutes.

I haven't use polishing paste, so the surface isn't smooth and glossy, but technically it doesn't matter.

Solder wets surface very well, it's visible on below image.

To summarize, despite good results and low proce, I think that it's too dangerous to tin a PCB this way.

PCB tinning using Lichtenberg's alloy

The Lichtenberg's alloy is an interesting way of home PCB tinning - it's inexpensive and there is no need to polish cooper or use specialized tools and chemicals. The negative side is that the alloy is hard to obtain, fortunately it's not expensive. For some countries, it might not be possible at all to buy it.

The alloy contains 50% of bismuth, 30% of lead and 20% of tin, but what makes it interesting is that its melting point is 95-100°C. It means that it melts in boiling water - that's the idea if this technique.

Below you may see drops of The Lichtenberg's alloy.

We will need a couple of grams of the alloy, pan with lid, a tablespoon of citric acid, silicon spoon and old tweezers or similar tool.

  • Fill pan with tap water to 1/2 - 1/3 of volume, put inside the alloy and your PCB, cover the pan with lid to speed up heating.
  • When the water boils, use tweezers to immobilize the PCB - squeeze it to the pan. Dispatch alloy on whole copper surface by using a spoon. Put the lid again.
  • After a couple of minutes, immobilize the PCB again and by using a spoon, remove alloy excess from the PCB.
  • Clean the PCB in water, dry it by using a rag.

Citric acid is used here in two ways: as a flux and to decrease boiling temperature.

Note: don't use pans or spoons that you are also using for cooking, have a separate set for tinning. Please keep in mind that Lichtenberg's alloy contains lead, the method involves citric acid, a product of those (lead citrate) is (at least) unhealthy if digested.

Note: several similar alloys exists (e.g. Lipowitz's alloy), probably they could be also used, but always check theirs recipe. Especially make sure you don't use something that contains cadmium!

Note: don't spoil on your body any boiling water during above procedure.

Below is an example of a PCB tinned by using this method, it's a USB Li-Ion battery charger

If you liked this idea, you may also check the article about inexpensive chemical PCB tinning.

Home-made mixture for chemical PCB tinning (acid bath)

While it's possible to buy ready to use tinning formulas, making your own is much less expensive. Various recipes exist for tinning copper, today I will present a simple one that uses ingredients available at online chemical stores. It's one of acid bath methods.

Ingredients:

Simply put PCB into the solution and wait a couple of seconds, the more time the PCB is in the solution, the thicker a tin layer is. It's not needed to heat up the solution - room temperature is sufficient.

The substances are irritating, if you want to apply this method at home, please use gloves and store ingredients and mixture away from children.

The first PCB that I tinned this way is presented below. Solder wets the surface easily! Next time I will use polishing paste before tinning - this should help to obtain smooth and shiny surface.

Here is the device before testing it - it's a driver for a dosimeter based on DKP-50. Not the tidiest construction, but still looks nice.

In the next post I will present PCB tinning by using Lichtenberg alloy. You may also check related previous post about galvanic copper plating.

DP-70 dosimeter

DP-70 was a chemical dosimeter used in the Polish army during the Cold War. A dosimeter is a device used to measure the amount of radioactive radiation absorbed by a body, in this case, by soldiers.

DP-70 dosimeter

DP-70 has a form of a small metal cylinder (to protect the device in hard, combat conditions) that covers an ampule with a transparent liquid. This substance change color proportionally to absorbed radioactive radiation.

DP-70 dosimeter

It's a simple device, but has two major drawbacks - it can't be used by colorblind persons and is not precise. Due to those two factors, the device was replaced by more modern DKP-50 dosimeter.

DP-70 dosimeter DP-70 dosimeter DP-70 dosimeter

It can be bought for around two euro, unfortunately it's designed to measure ranges present during nuclear war, so it's far too insensitive to make any experiments with environmental radioactivity.

Extracting potassium (with its radioisotope) from cigarette ashes

Organisms are built mainly of carbon, hydrogen and oxygen, but they use many more chemical elements, one of them is potassium. After burning of organic matter, potassium stays in ashes as oxide that later is transformed to hydroxide. In the environment, potassium exists in a mixture of three isotopes: 93.3% of 39 K, 6,7% of 41 K, and 0,012% of radioisotope 40 K. The amount of mentioned 40 K radioisotope is really tinny, but sufficient to be detected using home methods.

In this post I will present a simple method to extract potassium compounds from ashes. Purity of the end product is low, from what I found online, for wood ashes, it's around 20-30%.

What is needed? Cigarette ash (for this experiment I used remains of 192 cigarettes - I'm a smoker!), water (can be tap water), stove, pot, two beakers (or jars), funnel, cotton, stirrer (or spoon). The whole process takes a couple of hours.

I've started from removing cigarette buts, matches, and other junks, the result was ~130ml of ashes.

How to clean silver by using aluminum foil and salt water?

Silver may be cleaned in a simple way, all we need is a couple of materials that are present in every house. Today I will present this simple cleaning method.

How to clean silver silver by using aluminum foil and sat water
  • Use dish washing liquid and toothbrush to clean jewelry from dirt.
  • Dissolve a spoon of kitchen salt into a glass of hot water.
  • Put aluminum foil into the water, on the top of it put your silver jewelry.
  • Wait 30 minutes, clean silver under current water and let it dry.

Galvanic copper plating

Abstract

Galvanization is a method of coating metal objects with layer of other metal. It can be useful to protect against corrosion or to create decorative shapes on metal objects. Chemical background of this process is difficult, but the idea is simple (forgive me my indolence) - use electricity to move a bit of metal to the coated object.

a coin coated with coper by using galvanization

This experiment should be done with carefully and away from fire! Explosive mixture of H2 and O2 is being created during this process.

Tools and materials

  • plastic plate,
  • one glass of warm water,
  • pinch of kitchen salt,
  • copper wire with removed isolation,
  • aluminum tea-spoon,
  • DC power supply (3-10V).